Hey everyone!
A few weeks ago I started working at an artisan ceramic tile studio in Portland called
Clayhaus, all of the tile is made by hand through every step in production. While working in production is not ideal, this position really has allowed me to continue to learn and to add to my tool set. They are a great team and wonderful people, I am very happy to be working with them.
I am kind of the float studio assistant, helping out wherever I'm needed. This rocks because I am learning new things all the time. Mostly I am working the 30 ton ram press to make tiles, the images below demonstrate the process of making a dye for the press to create tiles.
Okay so the way the dye on a press works is this: It is basically a two part plaster mold. Inside the mold is a wire mesh with a hollow chord winding through it, this will be the tunnel for air to travel through. The mold is hooked up to an air compressor, when you press the pedal air is pushed through the tube inside the mold and then out through microscopic air paths created when the mold is curing. The air and water forced out through these paths allows the clay to release from the mold.
 |
| This is the machine the dye goes on. |
 |
| Inserting the wire mesh with attached hollow chord for air flow. |
 |
| Sealing the bottom of the dye with plasticine so the plaster won't leak out. |
 |
| Freshly poured plaster, 55 lb bag! |
 |
| Scraping off the extra plaster to create a smooth surface, (this is a bottom dye so it is completely flat) |
 |
| Air is purging the water out of the plaster creating the pathways for air to travel through when in use. |
 |
| Air and stem coming out, this much plaster took a while to kick but you can see the heat! |
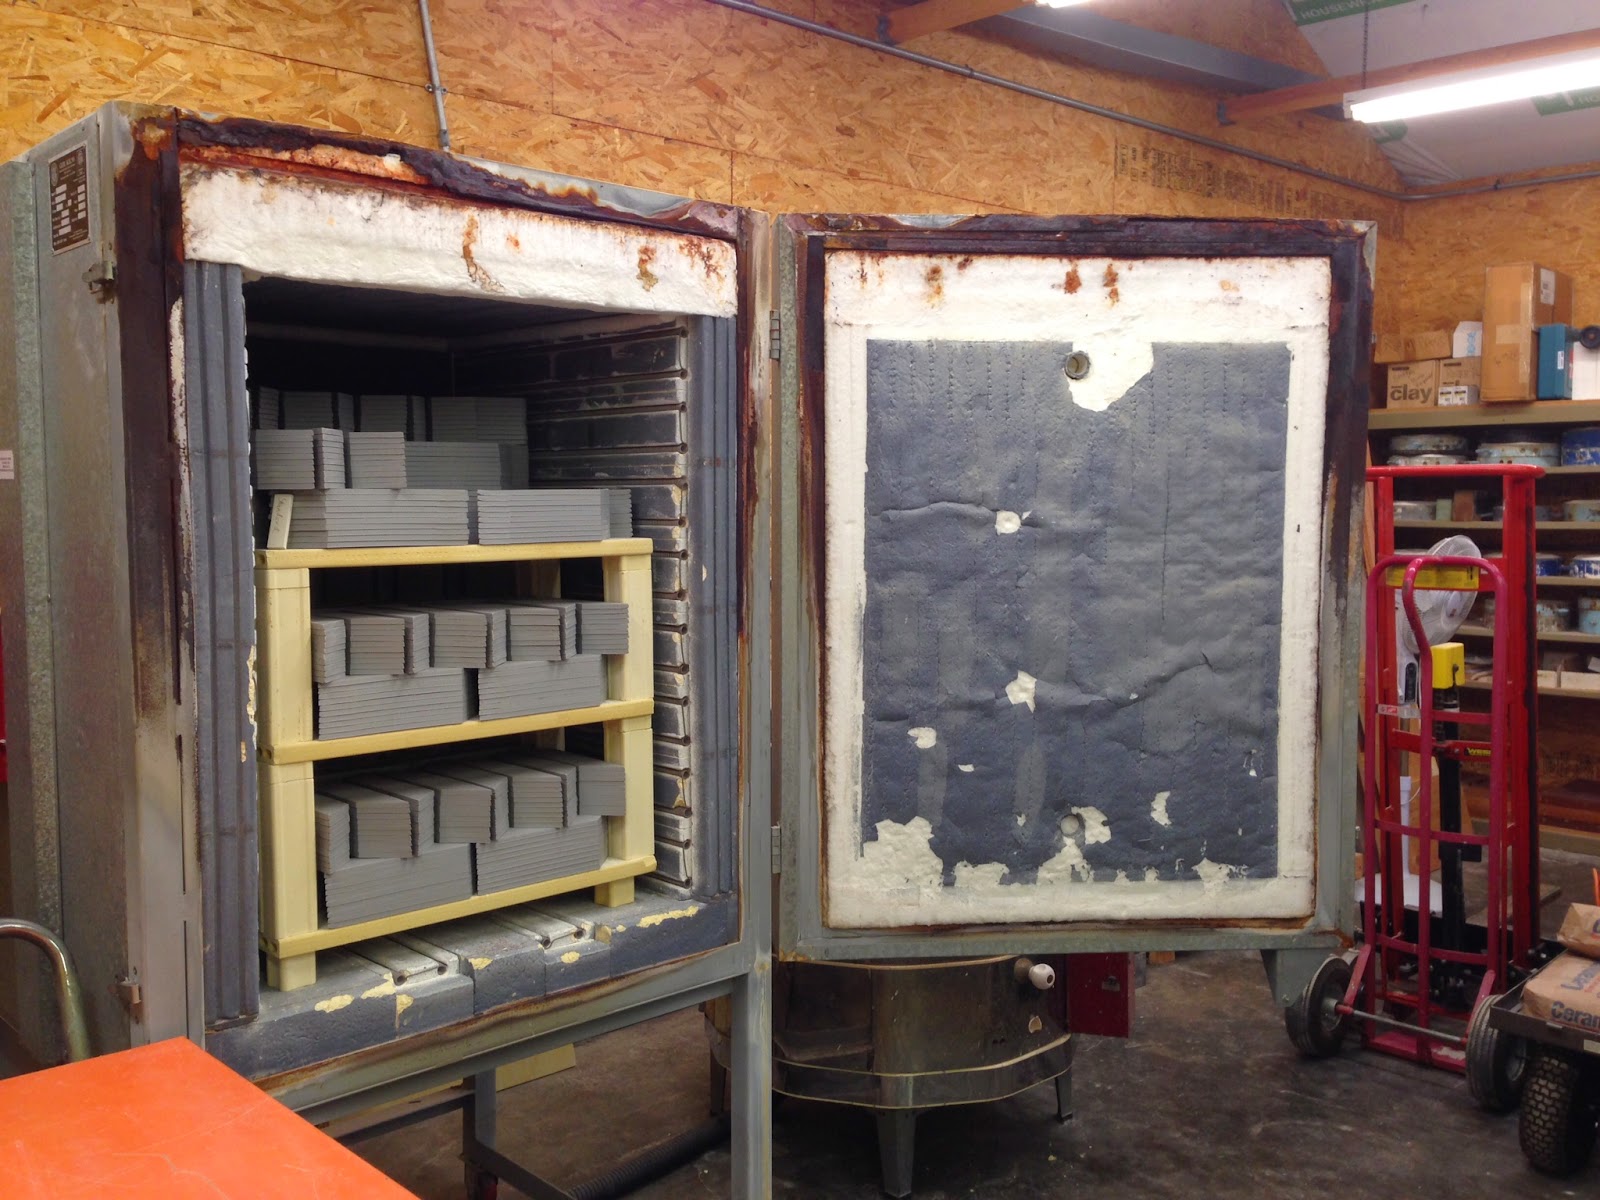
Anyways: Here is a little more of the studio, loading and unloading kilns.


No comments:
Post a Comment